Emu Crossing

I was late this morning (which isn’t exactly a rare thing) but it was for an unusual reason. I was driving along the country backroads that I normally take to avoid traffic when I saw something that took a moment to register.

There was an emu in the middle of the road.

I really need to start carrying a camera around with me. The thing was as big as I am, and I have no experience with emus so I wasn’t getting out of the truck to shepherd it to the farm nearby that I assume it escaped from. I knocked on the door of the house but noone was home. Their neighbor laughed when I told them about it and said “Don’t worry they won’t go far. They have two that get out all the time.” The neighbor didn’t have their phone number. I felt bad leaving it because I was afraid it would get hit by a car but there’s no way with all the trees that I could use my truck to shoo it into their yard.

I’ve stopped to help animals a number of times, like turtles, and a young cow once, but an emu was a new one for me.

If they’re home tomorrow I’ll stop by and make sure it was okay and maybe ask for some ’emu-wranglin’ techniques should I ever counter gigantic birds in the middle of the road again.
Comments

Otakon 2008

I attended Otakon this weekend with GameraBaenre. It was a good time as usual. I didn’t even bring a camera so no pictures from me, but my coworker Ciprian went and is a camera nut so I’ll try to update this post with links to his pictures at some point.

Gamera’s pictures are here.
Official Otakon pictures are here.
Ciprian’s pictures are here

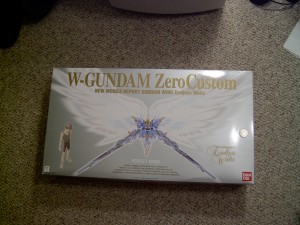
Gamera managed to take two awards at the model competition and gave me his “Best In Show” prize. A Perfect Grade W-Gundam Zero Custom. This thing is massive. I’m scared to even start working on it. I’m not even going to open the box until after I’ve finished my Gouf at least.

Thank you Gamera. I think. You know, you’re a real ass for getting me started on this modeling stuff.

At the show I was going to get some Code Geass models for a diorama idea I had but they sold out of the kit before I could pick it up on Saturday. Probably just as well since they’re some of the first ones out and they weren’t that good looking.

Comments

Gah! My primer isn’t sticking!

So I was chatting to GameraBaenre about my priming and such when I put some masking tape on a piece and then pulled it off. And was like….hrm…that part looks darker now. The primer came off! At first we thought perhaps it was just these two small pieces, because I had handled them a lot so maybe the oil from my fingers had gotten on them. Most of the pieces I had soaked in Simple Green degreaser for just that reason.

Turns out it’s all of the black pieces that didn’t require any sanding. Apparently the black pieces are really really smooth, so the primer didn’t have anything to stick to. Luckily this was pretty much just the waist, feet, and chest piece. The wings I had done some sanding work on so those were fine. So I had to remove all the primer that wasn’t on well by sticking tape on the piece and ripping it off repeatedly until things stopped falling off. Sigh.

Now I just have to sand those, and then re-prime them.

Comments

Gah, I sanded away my panel lines!

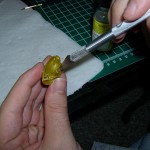
I had noticed this before but when I’m sanding away my seam lines, if those seams meet a panel line I end up sanding away the panel line too. This isn’t good. Those are SUPPOSED to be there. See how the panel line in the very center (which of course is super bright from the flash making it hard to see) is very faint, almost gone.

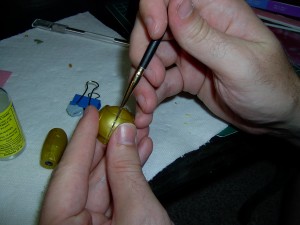
So I went to the store and got a Excel brand Needle Point Hobby Awl for 2.99. (Also known as a scribing tool) The sales guy tried to get me to buy a 9.99 version but I mean really…it’s a sharp piece of metal. 2.99 is fine. I then used this to VERY CAREFULLY scrape the panel line into the plastic. GameraBaenre suggested I put a piece of tape on it to mark the line I wanted and scrape along the edge of the tape. This just made me uncomfortable so I just did it by starting at the edges and working my way in till they met (again, very very faintly). Once I had a straight line going across then I kept working over it until it was deeper and more visible.

It doesn’t look as good as the original, but once I paint it and mark up the panel lines it should look fine. At least it’s visible now 🙂

Comments

Mobile Sumo Begins

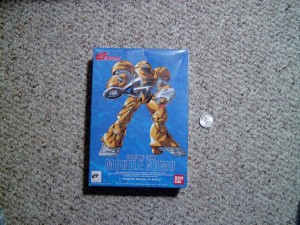
So I have a client at work that goes to Japan occasionally and brings back gifts. Some FMP schoolgirl figurines, breast enlargement cookies (which got me in trouble when I gave them to my fiance), and a gundam model. He’s a fun guy:) The model ended up going to me when my coworker was like “I don’t have the patience for this.” So I figured I’d start on it since I have this new hobby.

I’m just beginning the kit and I’m already feeling the pain.

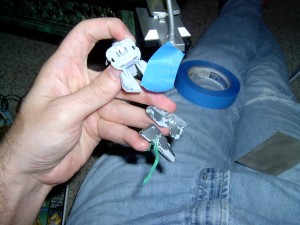
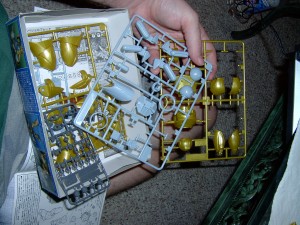
Here’s the kit part tree. Fairly simple. It’s a small (and probably cheap) kit. Probably the cheapest one my client could find for “omiyage.” I don’t blame him, I grateful he got us anything at all but the age of the kit really shows. The plastic is brittle and they pieces don’t fit well. I realized how spoiled I am starting with the Gouf Ignited.

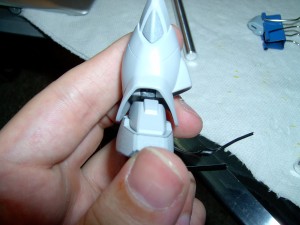
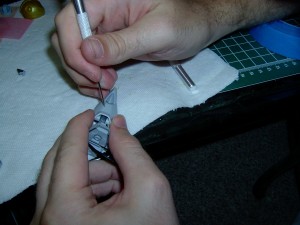
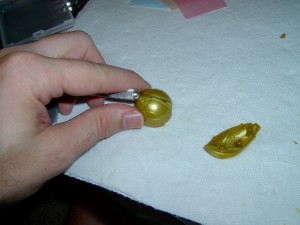
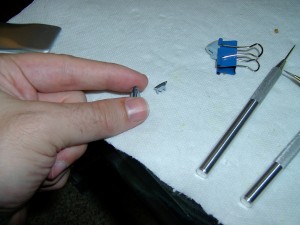
Did I mention brittle? After cutting the first two pieces from the tree and test fitting them, I snapped off one of the spokes trying to pull the pieces back apart. It’s so brittle it can’t take the stress of being unsnapped if you apply pressure from the wrong direction. Pro-tip from Gamera: Don’t try to force it if they won’t come undone. Get something flat like your hobby knife in there, and wiggle it as close to the spoke as possible to loosen it up and open the piece. This will help avoid the spoke breaking. In the picture imagine I’m wiggling the knife with my other hand. (It’s hard to use both hands and the camera at the same time, so I didn’t)

Another pro-tip. To avoid them getting stuck in the first place, make the holes bigger. Stick your hobby knife into the holes and spin it. Avoid spinning too hard and out of control ending up in you palm. Just gently turn it and it’ll carve off some of the plastic widening the hole. Just a little should be enough. This will make the piece not “snap” quite so tightly together.

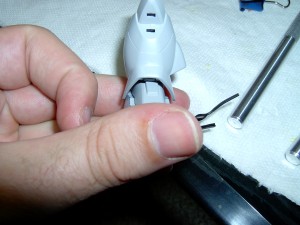
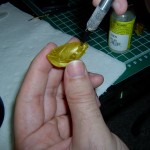
I’ve done a few of the seams on the kit so far. I use Tenax-7r right now though I bought a bottle of Tamiya Extra-Thin Cement to try out as well. Here’s me pretending to apply it to this shoulder joint. I actually had already done it, and had to rip the piece back apart because I realized I hadn’t sanded the piece inside of it yet.

I’ve finished up some of the left arm and leg of the model, but stopped to do some more work on my Gouf.

Comments