So I have a client at work that goes to Japan occasionally and brings back gifts. Some FMP schoolgirl figurines, breast enlargement cookies (which got me in trouble when I gave them to my fiance), and a gundam model. He’s a fun guy:) The model ended up going to me when my coworker was like “I don’t have the patience for this.” So I figured I’d start on it since I have this new hobby.
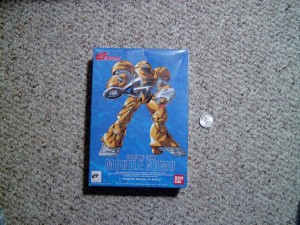
I’m just beginning the kit and I’m already feeling the pain.
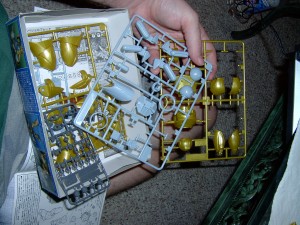
Here’s the kit part tree. Fairly simple. It’s a small (and probably cheap) kit. Probably the cheapest one my client could find for “omiyage.” I don’t blame him, I grateful he got us anything at all but the age of the kit really shows. The plastic is brittle and they pieces don’t fit well. I realized how spoiled I am starting with the Gouf Ignited.
Did I mention brittle? After cutting the first two pieces from the tree and test fitting them, I snapped off one of the spokes trying to pull the pieces back apart. It’s so brittle it can’t take the stress of being unsnapped if you apply pressure from the wrong direction. Pro-tip from Gamera: Don’t try to force it if they won’t come undone. Get something flat like your hobby knife in there, and wiggle it as close to the spoke as possible to loosen it up and open the piece. This will help avoid the spoke breaking. In the picture imagine I’m wiggling the knife with my other hand. (It’s hard to use both hands and the camera at the same time, so I didn’t)
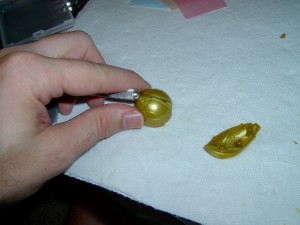
Another pro-tip. To avoid them getting stuck in the first place, make the holes bigger. Stick your hobby knife into the holes and spin it. Avoid spinning too hard and out of control ending up in you palm. Just gently turn it and it’ll carve off some of the plastic widening the hole. Just a little should be enough. This will make the piece not “snap” quite so tightly together.
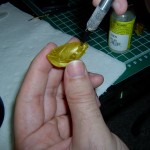
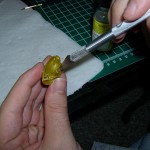
I’ve done a few of the seams on the kit so far. I use Tenax-7r right now though I bought a bottle of Tamiya Extra-Thin Cement to try out as well. Here’s me pretending to apply it to this shoulder joint. I actually had already done it, and had to rip the piece back apart because I realized I hadn’t sanded the piece inside of it yet.
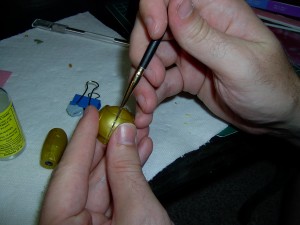
I’ve finished up some of the left arm and leg of the model, but stopped to do some more work on my Gouf.
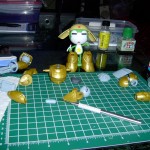 I believe I complained before about the Mobile Sumo’s panel lines. I spent the evening doing some basic seam line sanding, and either rescribing sanded away lines, or purposely sanding them away to rescribe them because the originals DON’T MATCH. You’ll see it go up to a line of flash, and be a millimeter or two to the side before it continues on the other side. No wonder modeling was so big back in the day. You really had to put a lot of work into these kits to make them look good. I can’t complain too much I guess, it gives me something to do until I get an airbrush. I’m not done with them yet, but figured I’d make a post to complain about them 🙂


