Airbrushing on the cheap. Not.
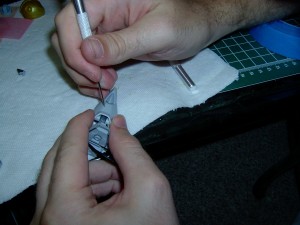
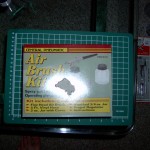 So my coworker B.C. was nice enough to give me a pair of air brushes he found on ebay for $5. Yes, $5. Neither one of us had our hopes up that high. Honestly I think his woman just wanted them out of the closet. It was especially fun when I found a post about them on the Internet that says their lifespan is usually measured in days. That was an optimistic assumption I believe. Anyway, I got some paint, and air can, thinner, etc, and hooked it up.
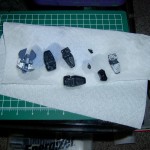
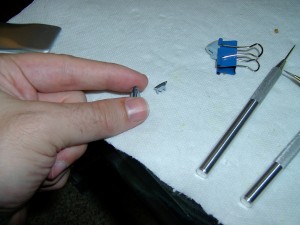
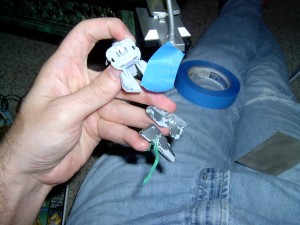
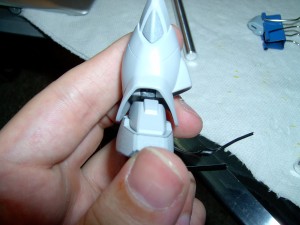
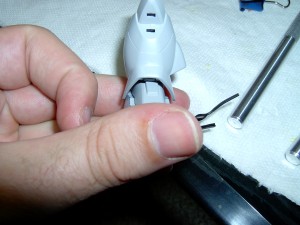
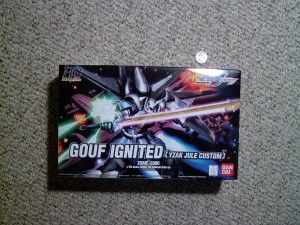
 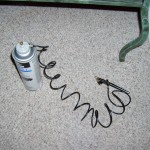 Gamera and I were having fun with Skype (if you can call two guys watching each other build gundams “fun”) and he suggested I put the air can in hot water. Apparently this helps air flow. Apparently too much as the hose escaped it’s threads and wizzed around my head and legs until I managed to shut off the air. Using a trusty clamp, i solved that. I was however unprepared for the sheer inadequacy of this air brush to do it’s job. Gravity feed from the top is so much nicer as the bottom feed uses more paint, requires me to make more paint, and barely works at all in this case. The airflow was totally all over the place, and I couldn’t increase it or risk losing an eye from the hose. I managed to kinda whiten up about 6 pieces before I just gave up.
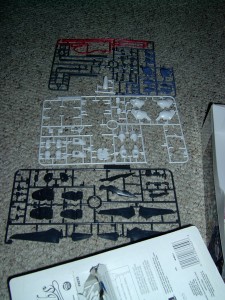
 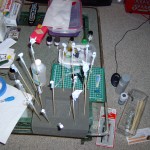 I didn’t bother cleaning the brush since I’m going to keep the satisfaction of throwing it away so it can’t cause anyone elses hopes to be dashed against the rocks of crappyness. I’m going to save the other one to give to someone I don’t like and feel like discouraging. I had a bunch of pieces on skewers ready to go, heh, how silly of me. I have to wait a week of drying for the few pieces I did, against all odds, get paint onto. Maybe I can somehow get myself a real airbrush before then. The coating was horrible so maybe I’ll just strip them and try over.
