Archive for Model Building

Gah, I sanded away my panel lines!

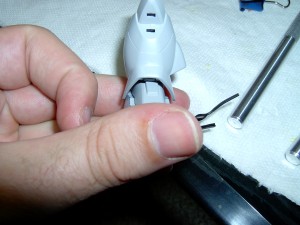
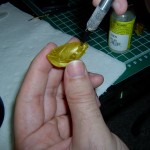
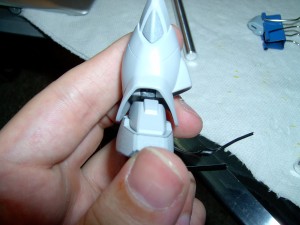
I had noticed this before but when I’m sanding away my seam lines, if those seams meet a panel line I end up sanding away the panel line too. This isn’t good. Those are SUPPOSED to be there. See how the panel line in the very center (which of course is super bright from the flash making it hard to see) is very faint, almost gone.

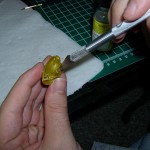
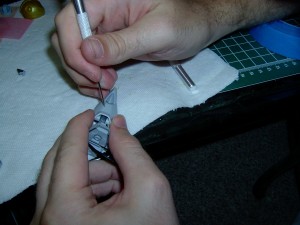
So I went to the store and got a Excel brand Needle Point Hobby Awl for 2.99. (Also known as a scribing tool) The sales guy tried to get me to buy a 9.99 version but I mean really…it’s a sharp piece of metal. 2.99 is fine. I then used this to VERY CAREFULLY scrape the panel line into the plastic. GameraBaenre suggested I put a piece of tape on it to mark the line I wanted and scrape along the edge of the tape. This just made me uncomfortable so I just did it by starting at the edges and working my way in till they met (again, very very faintly). Once I had a straight line going across then I kept working over it until it was deeper and more visible.

It doesn’t look as good as the original, but once I paint it and mark up the panel lines it should look fine. At least it’s visible now 🙂
Comments

Mobile Sumo Begins

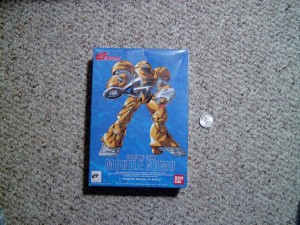
So I have a client at work that goes to Japan occasionally and brings back gifts. Some FMP schoolgirl figurines, breast enlargement cookies (which got me in trouble when I gave them to my fiance), and a gundam model. He’s a fun guy:) The model ended up going to me when my coworker was like “I don’t have the patience for this.” So I figured I’d start on it since I have this new hobby.

I’m just beginning the kit and I’m already feeling the pain.

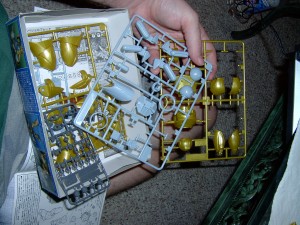
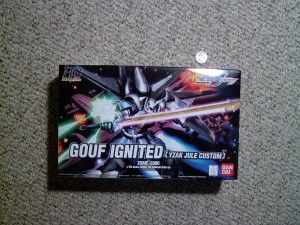
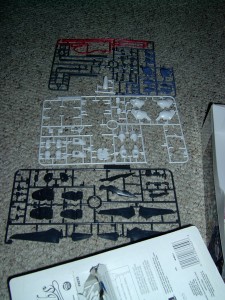
Here’s the kit part tree. Fairly simple. It’s a small (and probably cheap) kit. Probably the cheapest one my client could find for “omiyage.” I don’t blame him, I grateful he got us anything at all but the age of the kit really shows. The plastic is brittle and they pieces don’t fit well. I realized how spoiled I am starting with the Gouf Ignited.

Did I mention brittle? After cutting the first two pieces from the tree and test fitting them, I snapped off one of the spokes trying to pull the pieces back apart. It’s so brittle it can’t take the stress of being unsnapped if you apply pressure from the wrong direction. Pro-tip from Gamera: Don’t try to force it if they won’t come undone. Get something flat like your hobby knife in there, and wiggle it as close to the spoke as possible to loosen it up and open the piece. This will help avoid the spoke breaking. In the picture imagine I’m wiggling the knife with my other hand. (It’s hard to use both hands and the camera at the same time, so I didn’t)

Another pro-tip. To avoid them getting stuck in the first place, make the holes bigger. Stick your hobby knife into the holes and spin it. Avoid spinning too hard and out of control ending up in you palm. Just gently turn it and it’ll carve off some of the plastic widening the hole. Just a little should be enough. This will make the piece not “snap” quite so tightly together.

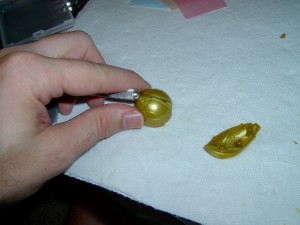
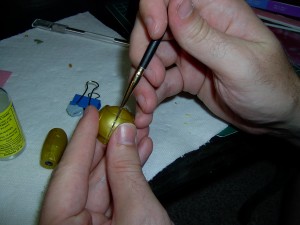
I’ve done a few of the seams on the kit so far. I use Tenax-7r right now though I bought a bottle of Tamiya Extra-Thin Cement to try out as well. Here’s me pretending to apply it to this shoulder joint. I actually had already done it, and had to rip the piece back apart because I realized I hadn’t sanded the piece inside of it yet.

I’ve finished up some of the left arm and leg of the model, but stopped to do some more work on my Gouf.

Comments

Gouf Ignited Initial Build

I bought this model at the same time as my Keroro, at Anime Expo 2008. I got this to try to finish before Otakon 2008. It was going to be a surprise for my friend GameraBaenre who has been trying to get me to start model for a while (and bought the Keroro). I only managed to get it primed before Otakon however. Oh well, I can enter it into the contest next year. Assuming I get an airbrush before then.

Here’s the part tree minus a few pieces I had already started working on before I remembered to snap a picture.

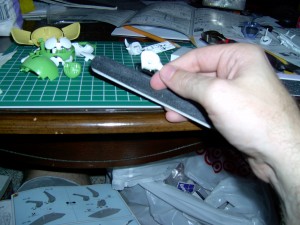
I was too busy actually putting it together to take very many good shots of my progress. I’ll try to do better with future kits. Here’s me sanding off some nubs. You can see some Keroro parts in the background 🙂

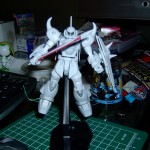
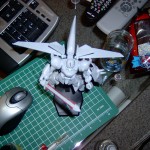
I did all the normal sanding, and removed all my seams. The parts fit nicely but had some challenges so this was a good kit for a beginner like myself. I primed it all up after sanding and here’s some shots of it all put together.

I was pretty happy with it 🙂 Gamera was impressed with my seam work for what was my first real model. I credit it completely to his model building tutorials. I really wish I had taken more pictures. I had some really tricky issues that I fixed like when I spilled a bunch of Tenax all over a piece and ended up with a gooey mess. Or the wrists that were round when I started, and kinda squarish when I was finished sanding. I had to fix these with some milliputt putty.

Oh well, I’m sure I’ll mess up again and I can document those things better next time.

Comments

Chibi-Kero

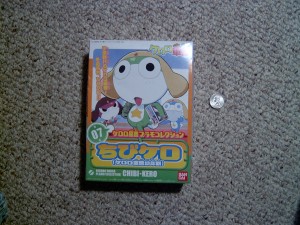
This is the first kit I’ve ever snapped together. It was meant as a test to see if I’d like making models and a good practice kit for removing some seam lines and such. I basically just snapped it together, and glued two pieces together. There really wasn’t much else to do.

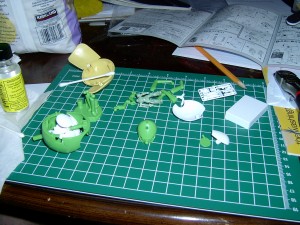
Here’s a bunch of the pieces:
Bunch of pieces :)

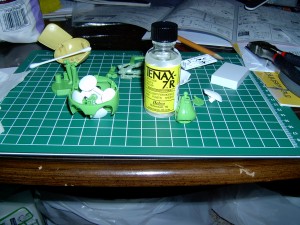
I used Tenax and a Q-tip to glue together a few of the pieces. Q-tips work horrible. Don’t try it.

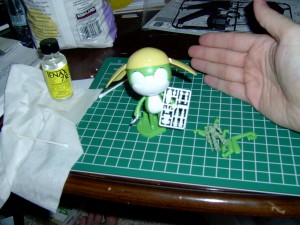
All snapped!

I’ll eventually come back to really clean it up and paint it but he’s happily watching me for now.

Comments